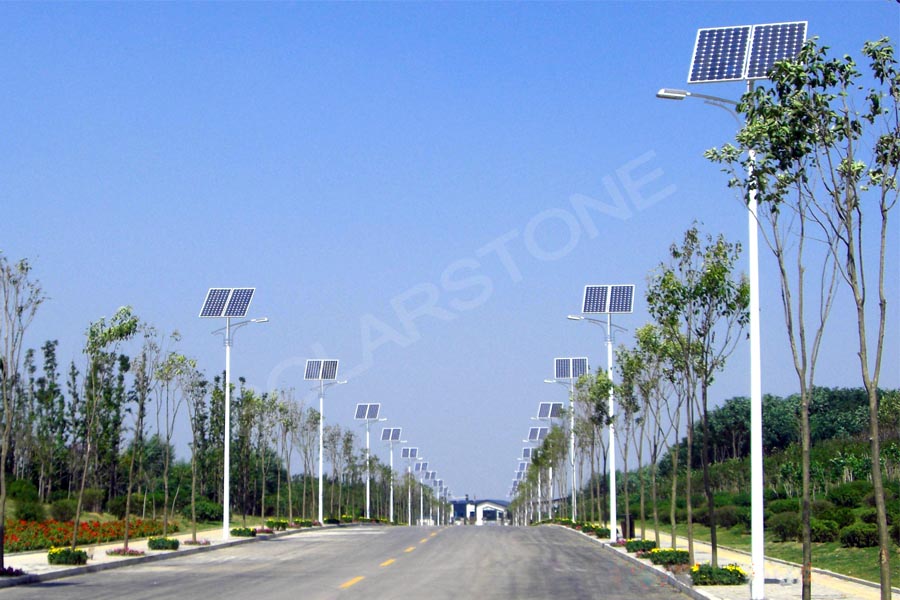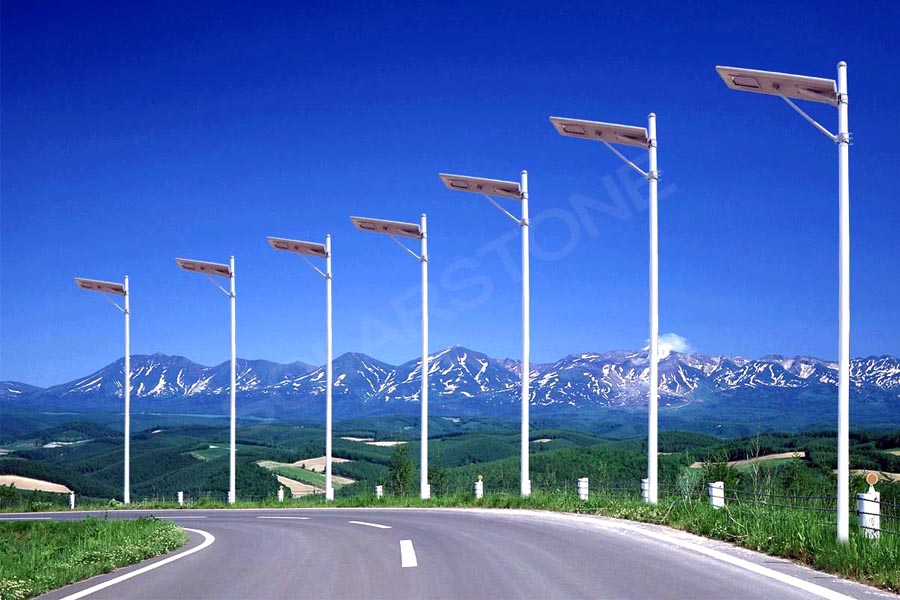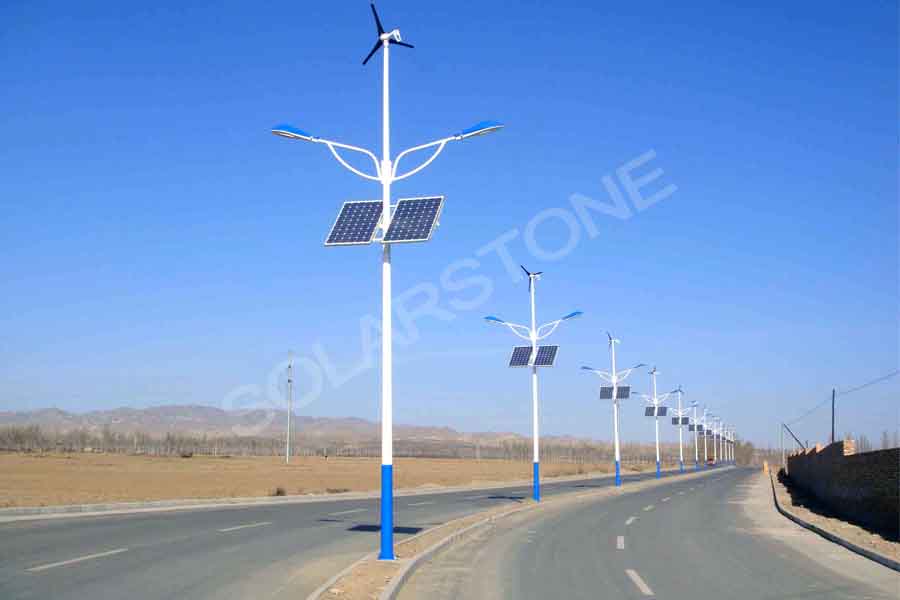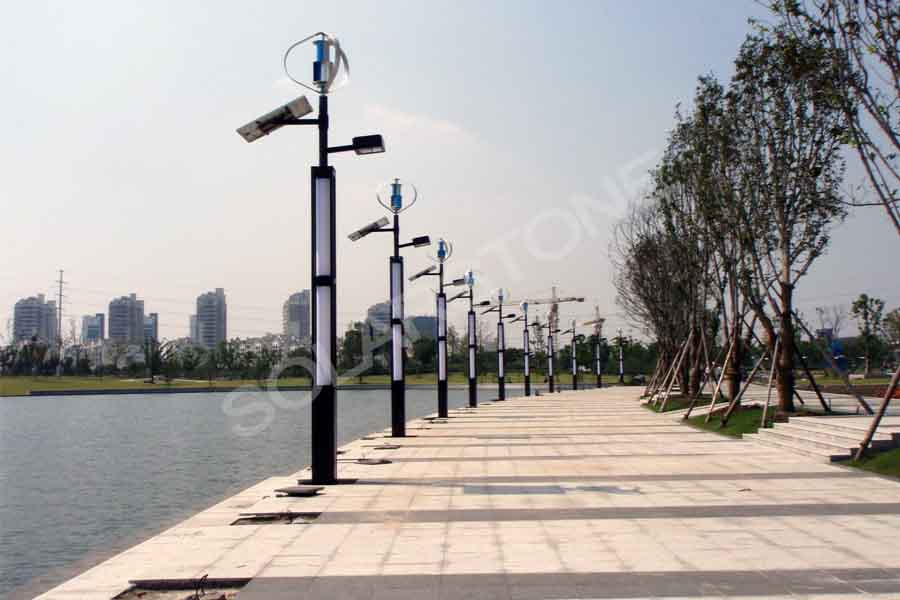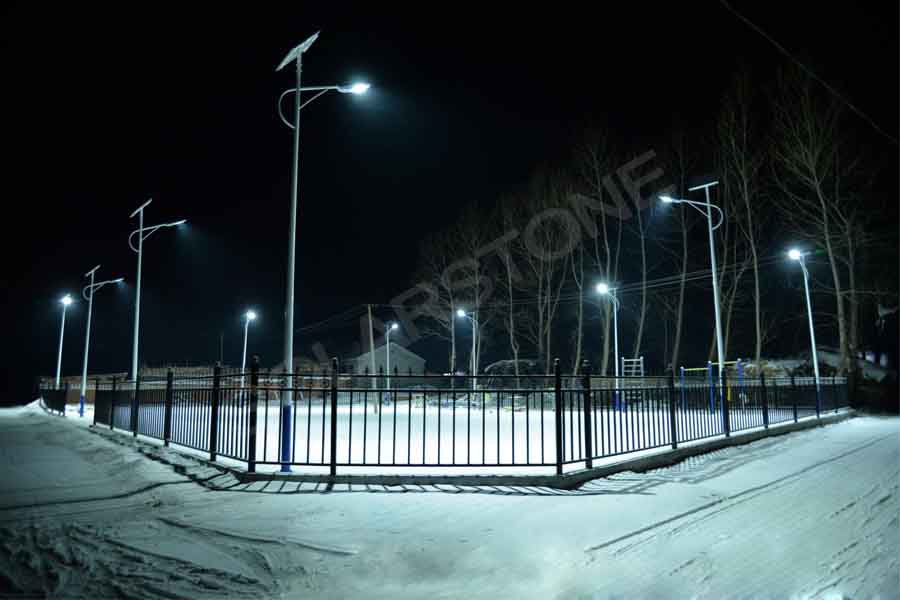
Solar energy is inexhaustible, clean, pollution-free, renewable energy, it is the most important new energy in the 21st century.
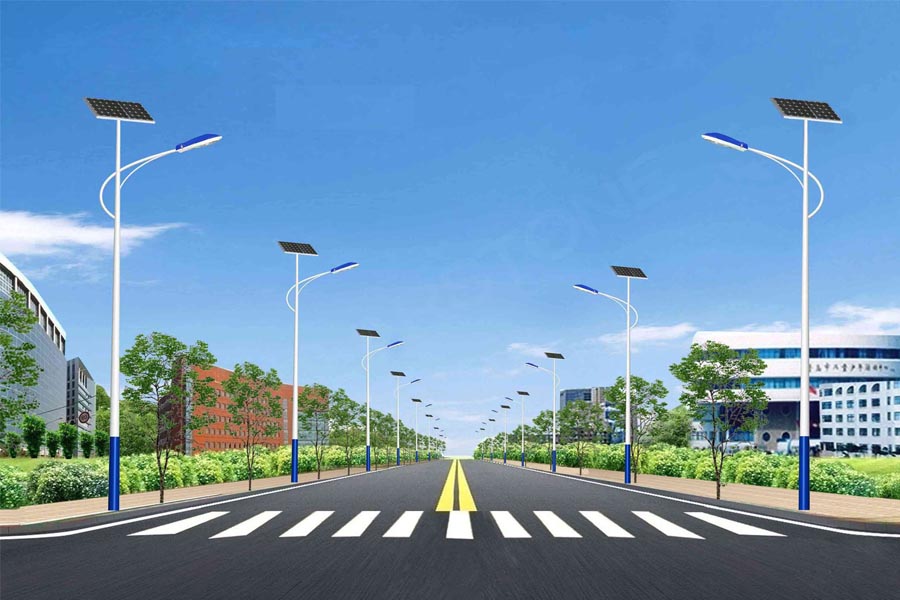
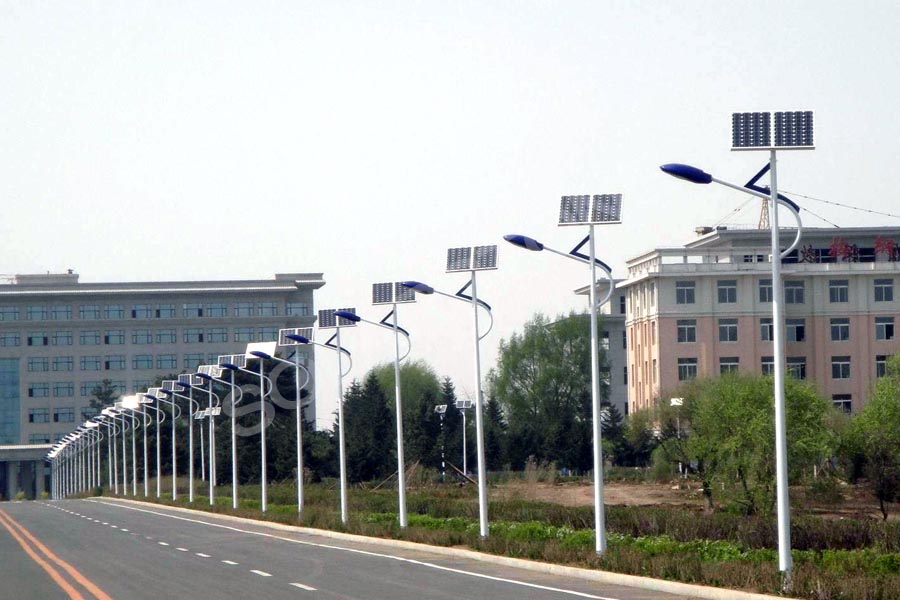
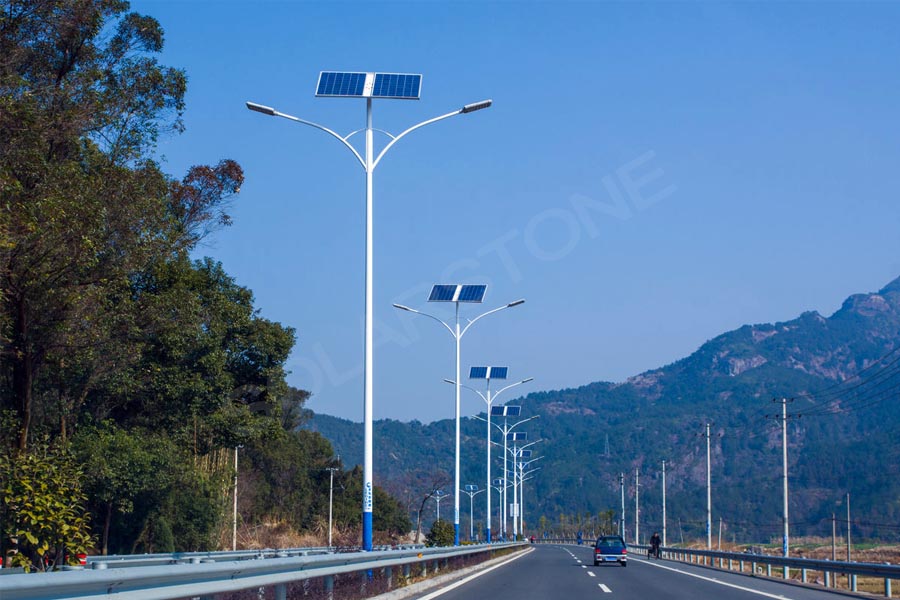
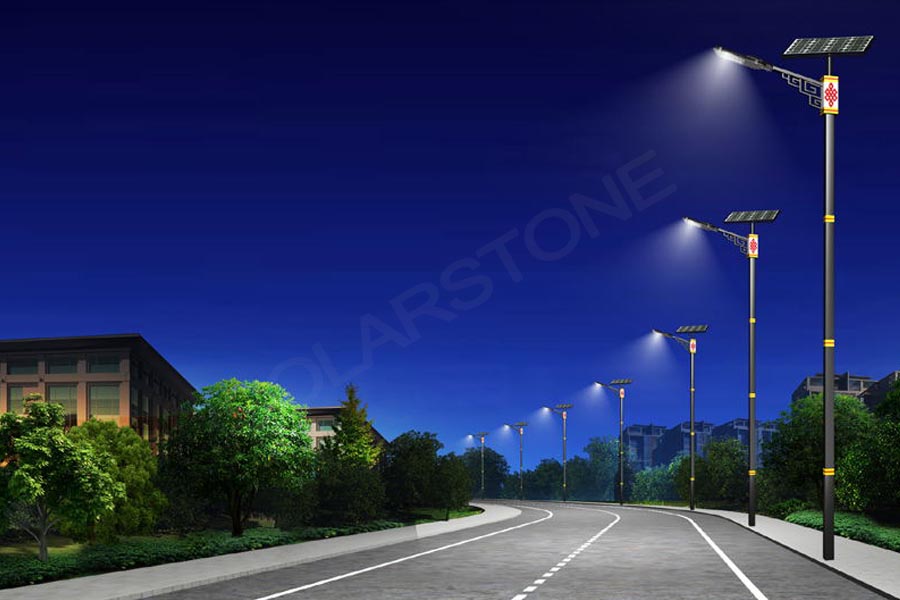
With the continuous development of solar energy technology, solar street lights are becoming more and more common in our life. We can see them on the main and secondary roads, residential areas, factories, tourist attractions, parking lots, and other places in the city. So how does the solar street light change the solar energy into electric energy, so that the lamp can illuminate? What parts does it contain? Now let’s have a detailed understanding.
What is the solar street light?
The solar street light is powered by crystalline silicon solar panel, stored by a maintenance-free valve-controlled sealed battery (colloid battery), and used as light source by super bright LED lamps. It is controlled by intelligent charging and discharging controller to replace the traditional street light for public power lighting.
How does the solar street light work?
Under the controller, the solar panel absorbs solar light and converts it into electricity. In the daytime, the solar panel charges the battery, and in the evening, the battery supplies power to the LED light source to realize the lighting function. The DC controller can ensure that the battery will not be damaged due to overcharge or overdischarge and has the functions of light control, time control, temperature compensation, lightning protection and reverse polarity protection.
What components does it have?
The solar street light is composed of the LED light source (including drive), solar panel, battery (including battery incubator), solar street light controller, street light pole (including foundation), and auxiliary material wire.
The solar panels generally use monocrystalline silicon or polycrystalline silicon solar panels; High power LED light source is generally used for LED lamp cap; The controller needs the functions of light control, time control, overcharge and overdischarge protection and reverse connection protection, which is usually placed in the lamp post.The battery is usually placed underground. Valve-regulated lead-acid battery, colloid battery, iron aluminum battery or lithium battery can be used.
What advantages does it have?
1.Easy installation: when installing the solar street light, there is no need to set up complicated lines, just make a cement base and a battery pit, and then fix them with galvanized bolts. There is no need to consume a lot of manpower, material resources and financial resources, no need for stringing or digging construction, and no worry about power cut.
2.Less investment: solar street lightis a one-time investment, long-term benefit because the line is simple, no maintenance costs, no expensive electricity. 6-7 years. The utility cost can be saved.
3.Safety: solar street lightis an ideal product for the ecological community and road administration department due to its low voltage of 12-24 V, stable voltage, reliable operation and no potential safety hazard. No electric shock, fire and other accidents.
4.Energy saving and environmental protection: solar photovoltaic conversion provides inexhaustible power. No pollution, no noise, no radiation. Solar street lightcan add new selling points for the development and promotion of noble ecological communities; They can reduce the cost of property management and the cost of public share of owners.
5.Long service life: the life of solar lamps is much longer than that of ordinary electric lamps. The service life of solar panel, the main component of solar lamps, is up to 25 years; The average life of low pressure sodium lamp is 18000 hours; The average life of low voltage and the high-efficiency trichromatic energy-saving lamp is 6000 hours; The average life of super bright LED is more than 50000 hours; The service life of solar battery is 2-5 years below 38ah; 3-7 years of 38-150ah.
How to install the solar street light?
Foundation pouring
1.Determine the position of the standing lamp; According to the geological survey, if the ground surface is 1.2 m soft soil, the excavation depth should be deepened; At the same time, it should be confirmed that there are no other facilities (such as cables, pipelines, etc.) below the excavation position, and there are no long-term sunshade objects on the top of the street light.
2.Reserve (excavate) 1m 3 pits meeting the standard at the position where the lamps are erected; Position and pour the embedded parts.Place the embedded parts in the middle of the square pit. Pay attention to keep the embedded parts, foundation and the original ground on the same level (or the screw top and the original ground on the same level, depending on the needs of the site), and one side should be parallel to the road; Only in this way can the lamp pole be upright without deflection. Then, the C20 concrete is poured and fixed, and the vibrating rod should not be stopped during the pouring process to ensure the overall compactness and firmness.
3.After the completion of the construction, the residual sludge on the positioning plate shall be cleaned in time, and the impurities on the bolts shall be cleaned with waste oil.
4.In the process of concrete solidification, regular watering and maintenance shall be carried out; When the concrete is completely solidified (generally more than 72 hours), the chandelier can be installed.
Solar panel installation
1.Before connecting the output positive and negative poles of the solar panel to the controller, measures should be taken to avoid short circuits;
2.The connection between the solar panel and the bracket should be firm and reliable;
3.The output line of the solar panel shall not be exposed, and shall be tied firmly with ties;
4.The orientation of the solar panel should be due south, subject to the compass.
Battery installation
1.When the battery is placed in the control box, it should be handled with care to prevent damaging the control box;
2.The connecting wires between batteries must be pressed on the terminals of batteries with bolts, and copper gaskets shall be used to enhance the conductivity;
3.After the output line is connected to the battery, short circuit is prohibited under any circumstances to avoid damaging the battery;
4.The output line of the battery must be connected with the controller in the pole through PVC conduit;
5.After the above, check the wiring at the controller end to prevent short circuit. Ifnormal, close the door of the control box.
Light installation
1.Fix the components of each part: fix the solar panel on the solar panel bracket, fix the lamp cap on the arm, then fix the solar panel bracket and arm to the main pole, and lead the connecting line to the control box (battery box).
2.Before lifting the lamp pole, check whether the fasteners of each part are firm, whether the lamp cap is installed properly, and whether the light source works normally. Then, check whether the simple debugging system works normally; Loosen the connection line of the solar panel on the controller, and the light source works.
3.Pay attention to safety when lifting the main lamp pole; The screw is tight. If the sunrise angle of the component deviates, it needs to be adjusted at the upper end, and the sunrise direction is completely due south.
4.Put the battery into the battery box and connect the connecting line to the controller according to the technical requirements; First, connect the battery, then the load, and then the solar panel; When wiring operation, we must pay attention to the wiring and the terminal indicated on the controller can not be connected wrong, positive and negative polarity can not collide, can not be connected reversely, otherwise the controller will be damaged.
5.Whether the debugging system works normally; Loosen the connecting line of the solar panel on the controller, and the light will be on; Connect the connecting line of the solar panel and the lamp is off; At the same time, carefully observe the changes of the indicator lights on the controller; Only when everything is normal can the control box be sealed.


