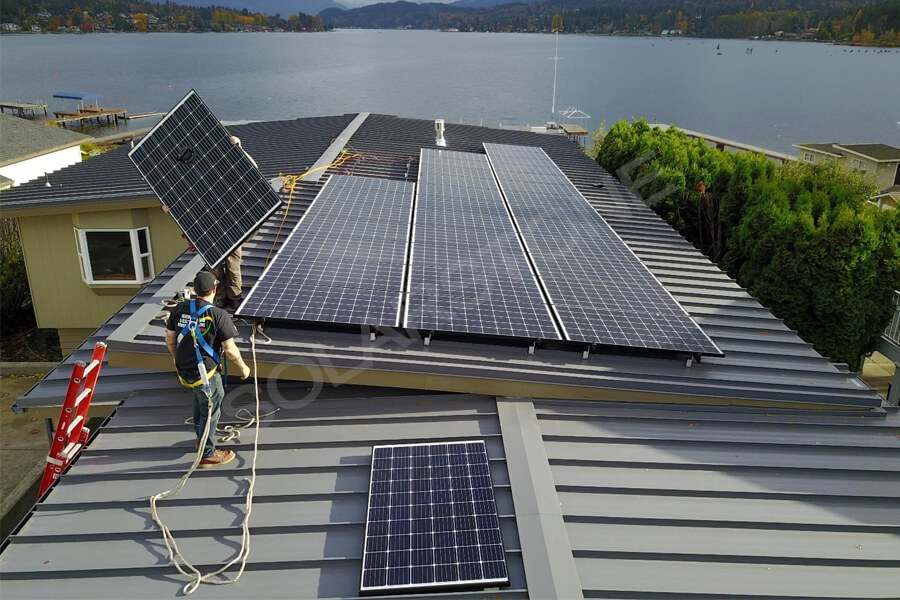
1. Installation of solar cell module
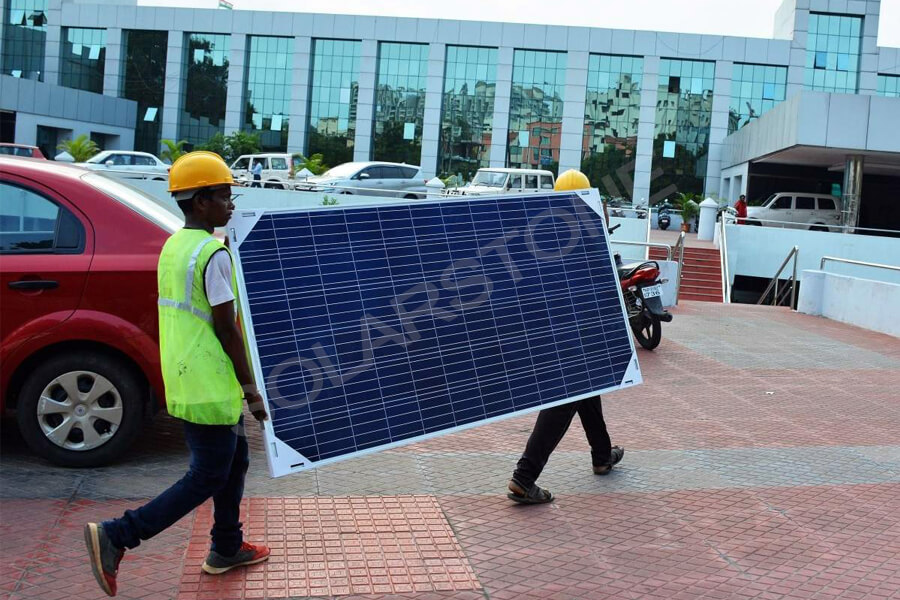
Firstly, the solar cell modules are transported to the channel between the rows or columns where the solar cell array is installed, in order to speed up the installation speed of the construction personnel.
During transportation, it shall be noted that the solar cell modules shall not be stacked too high. During the transportation and storage of solar cell modules, they shall be handled with care, without strong impact and vibration, transverse heavy pressure and collision. Special attention shall be paid to prevent the backplate materials on the glass surface and back of solar cell modules from being directly impacted by hard objects.
Before the installation of solar cell modules, the solar cell modules shall be grouped according to the factory measured technical parameters and curves provided by the solar cell module manufacturer, the solar cell modules with similar peak working current shall be connected in series, and the solar cell modules with similar peak working voltage shall be connected in parallel, so as to give full play to the overall efficiency of the solar cell array.
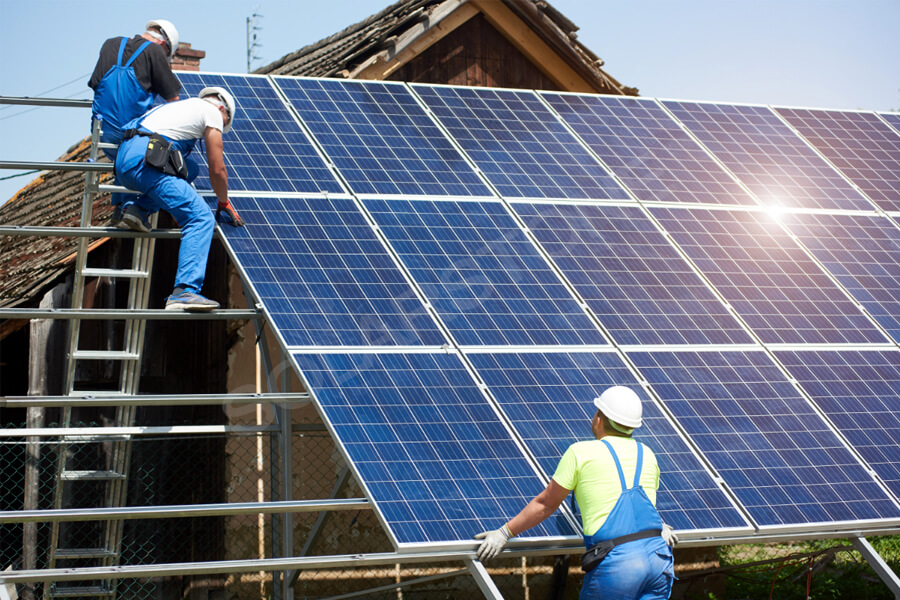
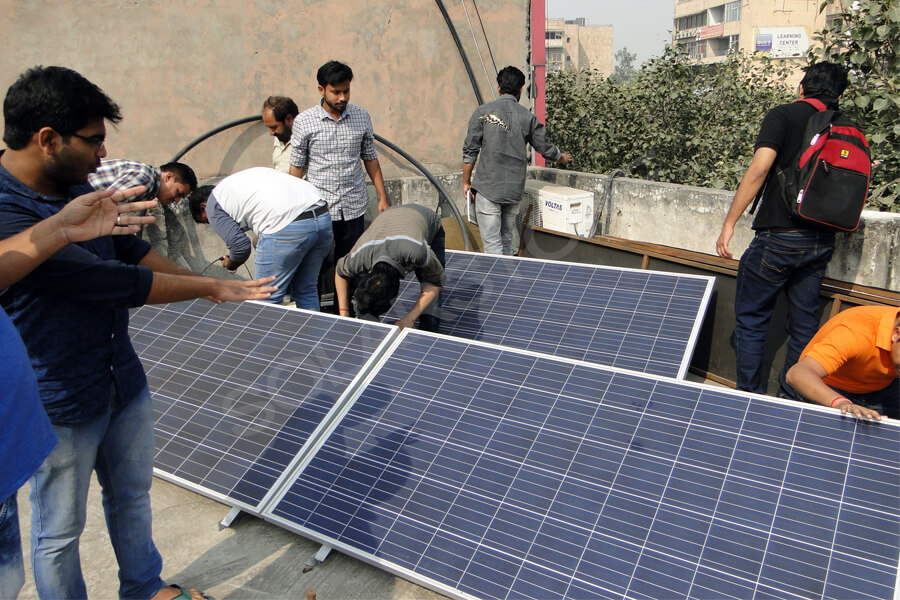
The grouped solar cell modules shall be placed on the support in turn according to the drawings, and the wires shall pass through the fixing holes of the support and the frame of the solar cell module. The solar cell modules shall be installed from bottom to top, block by block, and the screw shall be installed from inside to outside.
In order to ensure the adjustable margin of the support, the connecting bolts shall not be fastened. The steps for adjusting the mounting surface of the solar cell module are as follows:
1) Adjust the position of the first and last two solar cell module fixing rods and fasten them.
2) Tie the pay-off rope to the upper and lower ends of the first and last two solar cell module fixing rods and tighten them.
3) Adjust the fixing rods of other solar cell modules respectively based on the pay-off rope to make them in one plane.
4) Pre-tighten all bolts.
During the installation of solar cell modules, they must be handled with care to avoid damaging the protective glass on the surface of solar cells. The connecting bolt of the solar cell module shall be provided with a spring washer and flat washer.
After fastening, the exposed part of the bolt and the nut shall be painted to prevent looseness. And paint repair shall be carried out after each installation; The installation of solar cell modules must be horizontal and vertical, and the spacing of solar cell modules in the same solar cell array shall be consistent; Pay attention to the direction of the junction box of the solar cell module.
2. Precautions for solar cell array installation
The following matters shall be paid attention to in the installation of solar cell array:
1) Determining the installation position and inclination angle of solar cell array according to the drawings is the most important step in the installation of solar cell array.
2) The solar cell array shall avoid unnecessary outdoor exposure, and convenient system maintenance shall be considered during installation.
3) The solar cell array shall be as close to the battery and electric energy regulation equipment as possible to shorten the line distance and reduce the line loss.
4) During the installation of solar cell array, pay attention to the positive and negative output terminals of the array, and do not short circuit, otherwise, personal accident or fire may be caused.
5) When installing the solar cell array in the sun, the solar cell module shall be covered with black plastic film, packaging paper and other opaque materials to avoid the risk of high output voltage affecting the connection operation or causing electric shock to the construction personnel.
3. Solar cell module wiring
The wiring mode of solar cell modules shall be determined according to the design drawings, and the wiring of solar cell modules shall meet the requirements of the design drawings. Multi-strand copper core wire shall be used for wiring, and the wire head shall be tinned before wiring.
When wiring, pay attention not to connect the positive and negative poles reversely to ensure correct wiring. After each string of solar cell modules is connected, check whether the open-circuit voltage of the solar cell module string is correct. After the connection is correct, disconnect the wiring of a solar cell module to ensure the safe operation of subsequent processes.
Connect the solar cell module with the connecting cable of the controller, and the metal armor of the cable shall be grounded.
According to the design requirements of the solar cell array module in series and parallel, the positive and negative plates of the module are connected with cables. For the solar cell module with connecting wire and connector directly in the junction box, the positive and negative polarity shall be marked on the connector, as long as the connector is directly inserted.
After the cable is connected, the cable shall be fixed on the support with straps, steel wire clamps, etc. to avoid cable wear or poor contact caused by long-term wind and shaking.
After the installation of solar cell modules, the total current and voltage shall be measured first. If they do not meet the design requirements, each branch shall be measured separately. Of course, in order to avoid the mutual influence of each branch, each branch should be disconnected from each other when measuring the current and voltage of each branch.
The wiring of solar cell array shall be provided with support, fastening, protection and other measures. The appropriate allowance shall be reserved for the conductor, and the wiring mode shall comply with the provisions of the design drawings.
Conductors of different colors shall be selected as positive (red), negative (blue) and parallel and series connecting wires, and the conductor specification shall meet the design requirements. Multi-strand conductors with a cross-section greater than 6mm2 shall be equipped with copper joints (noses).
For single-core conductors with a cross-section less than 6mm2, when the solar cell module junction box wire is connected with a joint ring, the bending direction of the wire head shall be consistent with the direction of the fastening screw. At most two core wires are allowed at each terminal, and gaskets shall be added between the two core wires, and all wiring screws shall be tightened.
The solar cell modules are connected in series: the positive pole (or negative pole) of the first module is connected with the negative pole (or positive pole) of the second module; The method of parallel connection of solar cell modules is: the positive and negative poles of the first module and the positive and negative poles of the second module are connected correspondingly.
When wiring, open the solar cell module junction box with a small slotted screwdriver, press the solar cell module power line to the terminal of the junction box with a small slotted screwdriver, and the red line shall be connected to the positive pole and the blue line to the negative pole.
After the line is connected, fasten the waterproof nut at the outlet end of the junction box, and apply sealing silica gel to the terminal in the junction box, The amount of glue shall be subject to the complete sealing of the inlet hole in the junction box, and then fasten the junction box cover. The junction box cover shall be fastened and cannot be reversed.
After the wiring and wiring of solar cell array components are completed, check whether the wiring and wiring are correct according to the construction drawing. The connecting wire at the outlet of the junction box of the solar cell module shall be bent downward to prevent rain from flowing into the junction box. The connecting wire of the solar cell module and the outgoing cable of the square array shall be fixed or bound on the support with a fixing card.


