Assuming you have purchased all the necessary supplies for the photovoltaic system, now you may want to know what the next step is?
The installation process of solar panels has many hidden details that are easy to miss, especially during the first installation. In this article, we will introduce all parts of the photovoltaic system to you and guide you in completing the task of making them work together.
How long does it take to install solar panels? When it is completed by a contractor, the process typically lasts for two to three weeks. The first step is to arrange a roof inspection and obtain permission. Placing the solar panels in place is the final stage, which only takes a few days.
Experienced installers usually do not interfere too much with your daily life, but you should be prepared for occasional power outages.
The installation price depends on a series of factors:
- System scale
- The type of device you want to have
- Geographical position
- Rewards and benefits in your region
- Professional installation personnel or DIY.
Today, the average price of a complete home photovoltaic system ranges from $15000 to $25000. So how much does it cost to install a solar power generation system? The average labor cost is usually 10% of the total price.
Now let’s take a closer look at the installation process that we have broken down into 7 steps.
Step 1: Find the sunniest place for your solar panel
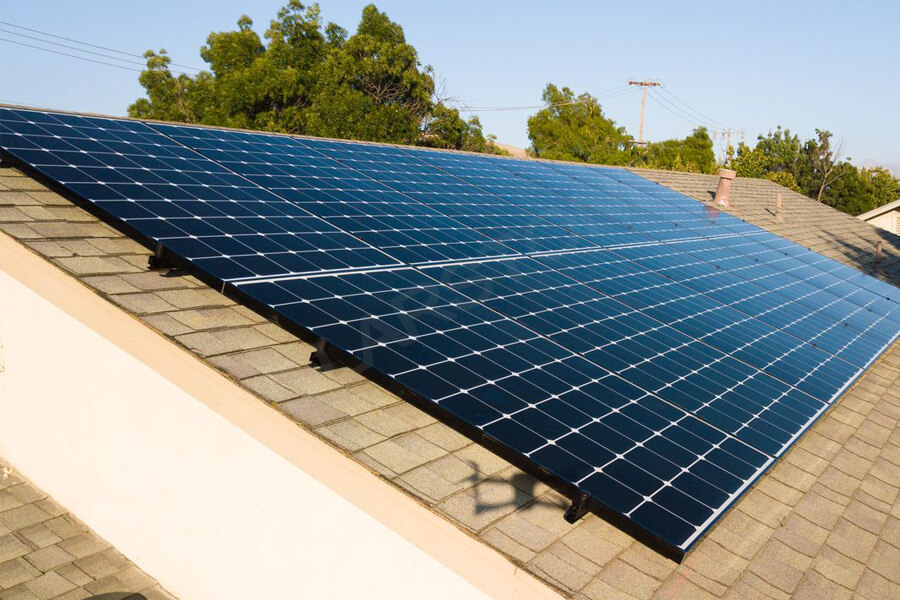
Your main goal is to provide maximum sunlight exposure to your solar panels throughout the day. If you are installing solar panels on the roof, please choose the side facing south, southeast, or southwest.
Ground mounted systems are more flexible in this regard, but are rarely used in residential systems, and not everyone has a large enough backyard to accommodate around 20 solar panels.
Ensure that the location you have chosen is not obscured. Check the location in the morning, afternoon, and evening – to what extent is it exposed to sunlight throughout the day? The power generated by solar panels in the shade may be 75% less than their rated output, so it is important to consider it in advance.
Step 2: Build and set up an installation platform
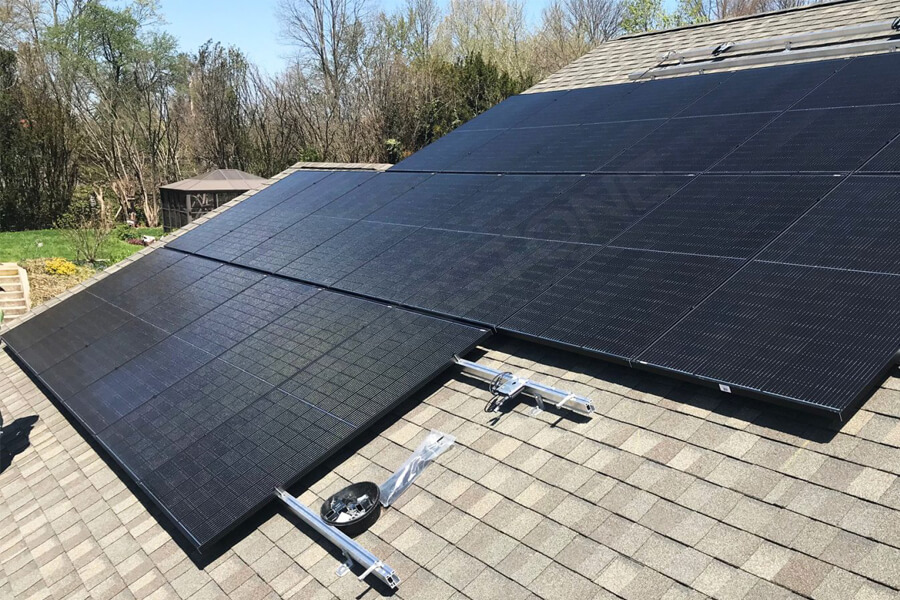
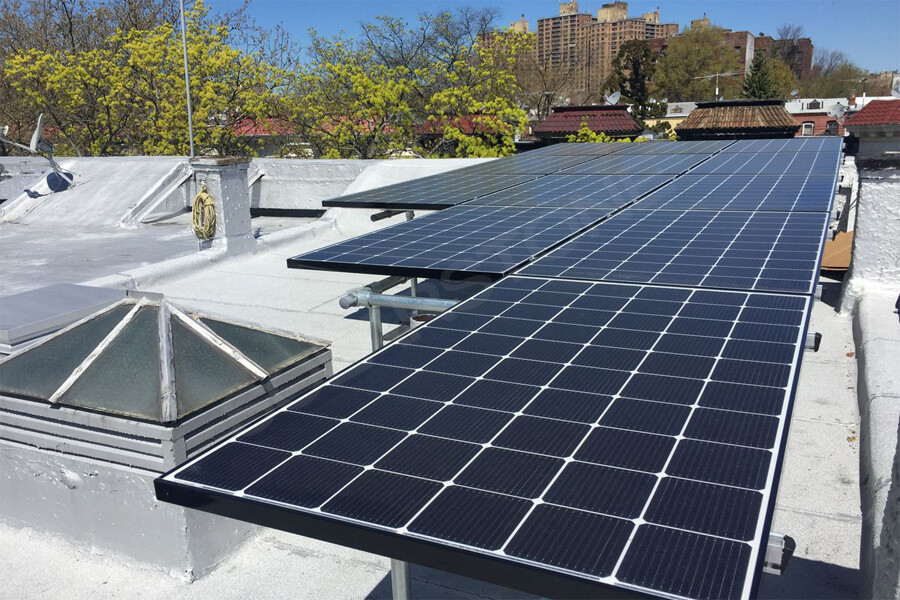
Now is the time to establish the foundation of your solar installation to ensure that the solar panels remain in place in any weather and season. Build a platform using metal or aluminum rails based on the length and width of the solar panel. The type of installation base depends on the type of roof you have.
Step 3: Install the solar panel onto the platform
Install the solar panel onto the platform using brackets, bolts, or clips. Ensure that all installation details are tightened to maintain stability and firmness. Properly secure your solar panels to withstand wind and extreme weather conditions. If you install solar panels on the roof, please be extra careful and provide all safety conditions for yourself and those working with you.
Step 4: Connect all solar panels together
Before starting up, please check whether the wires of each solar panel are insulated to avoid leakage and accidents in the future. Check the connectors and you may find MC4 or MC4 compatible connectors.
If some connectors are different, they need to be replaced. Connect the modules in series by connecting the positive (+) lead of one module to the negative (-) lead of the next module. Then, by connecting the additional positive and negative leads of the string together, the series is connected in parallel.
Step 5: Ground the solar panel and installation platform
Grounding solar panels and platforms is essential as they are composed of metal. By doing so, you can protect all your devices from potential damage caused by lightning and surges. You can also protect yourself and others from electric shock.
1. Connect the device to a grounding rod near the building using copper wire
2. Extend the long copper rod approximately 6 inches from the ground
3. If there is no grounding network, ground the control panel
Step 6: Install solar inverters and other equipment
Solar inverters should be part of any photovoltaic system, regardless of its type. You need to convert the direct current generated by solar panels into alternating current to run your household appliances. Inverters are usually installed indoors in a cool, dry, and ventilated area. If the manufacturer states so in the specification sheet, it can also be installed outdoors.
The off grid system also requires a charging controller and a battery for power storage. Choose a room of the same type as the inverter to avoid overheating and dust accumulation.
Step 7: Connect the inverter to the consumer unit
The inverter should be connected to the consumer unit to generate electricity. A power meter should also be connected to monitor the electricity generated by the solar panels. You can use your computer or other devices to check the performance of your solar system.
For example, you can check the amount of electricity you generate at different times and decide when it is most suitable to use a washing machine or other public facilities.
The main rule is to connect the positive wire to the “positive” and the negative wire to the “negative”. If you have any questions about your skills, it is recommended that you seek the help of an electrician.
To connect your solar system to the power grid, please contact the utility provider in your area for more information. Only utility experts can connect your system to the power grid.
It’s time for a trial run!
Before initializing the test run, please make sure to check whether your entire system is securely fixed and connected. Your system should be grounded, and all your equipment (including wires) should be free of any defects and correctly inserted for normal operation. Now you can turn on the power and test the entire system.
Before saying goodbye to the installation personnel, study the guidelines for all equipment and carefully examine all possible aspects and indicators. If everything is normal, congratulations! Now is the time to delve deeper into the vast range of benefits and incentives that will be open to you!
Maintenance is the key to maintaining the health of solar panels
Regular maintenance and upkeep of your solar panels will significantly extend their lifespan and improve efficiency. Always check your solar panels for different defects, such as dirt, electrical issues, and even bird nests. Don’t be surprised, birds really want to use your solar panels as a comfortable cover to block out sunlight and wind.
Like installation, you can call a professional to complete this task for you, or use our maintenance techniques to complete it yourself. However, before starting any work related to cleaning or repairing solar panels, please be sure to shut down the entire solar system to ensure your safety.


