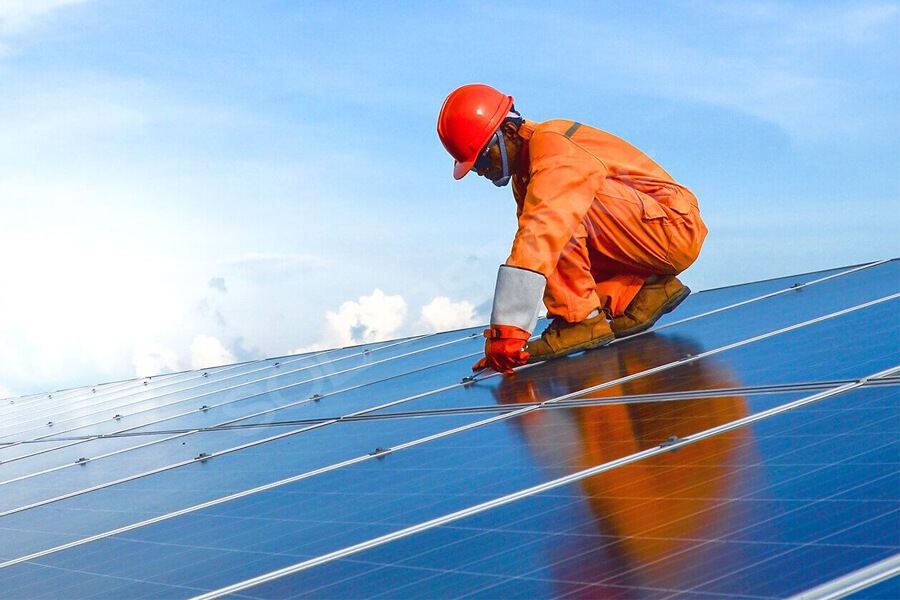
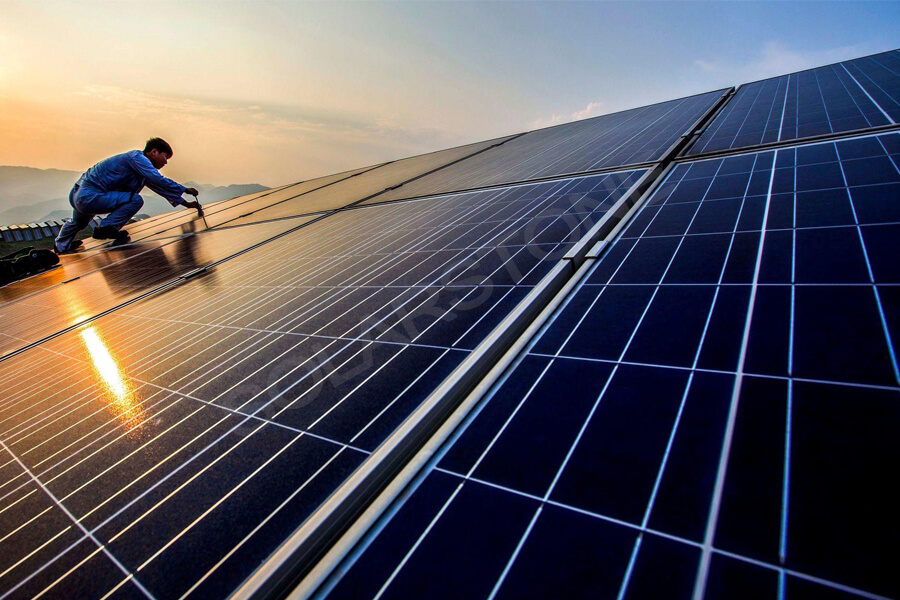
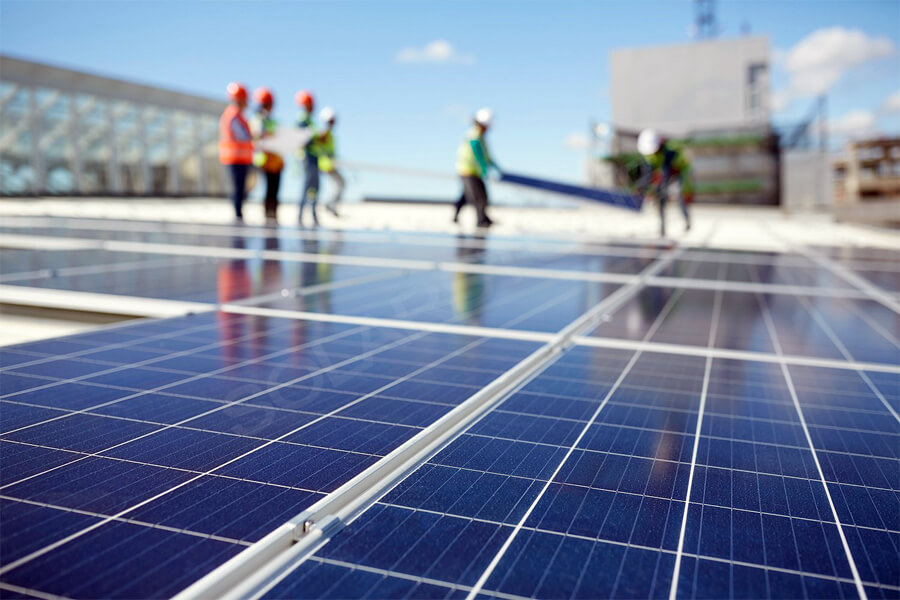
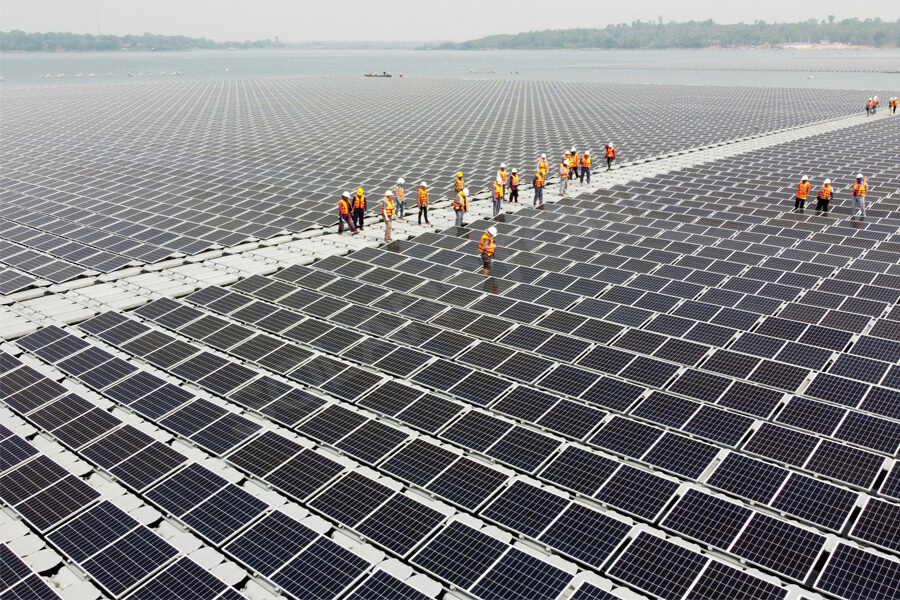
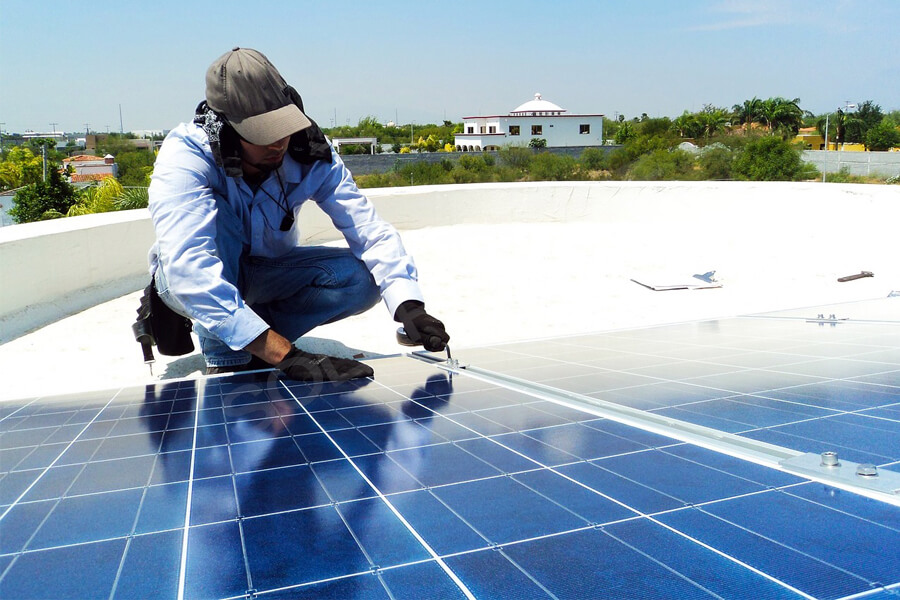
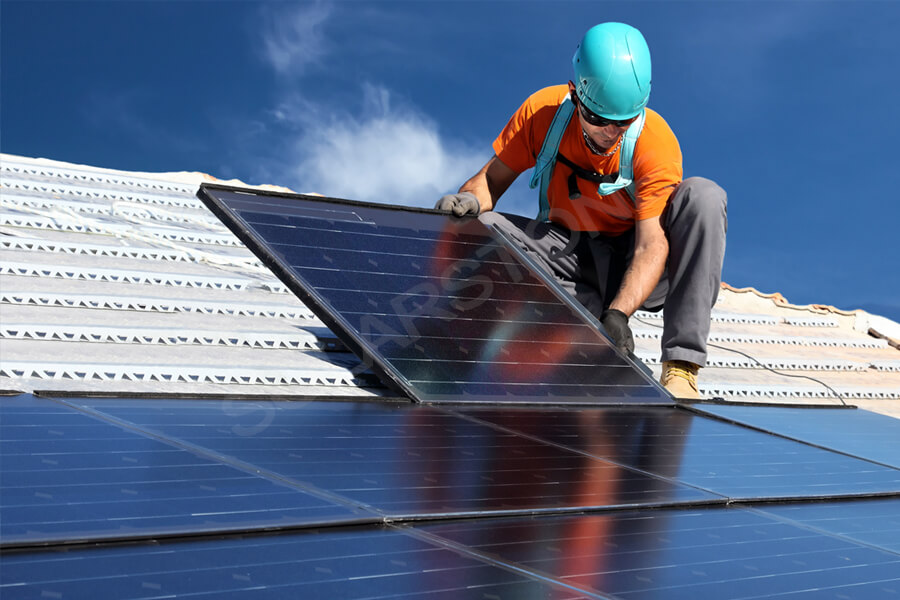
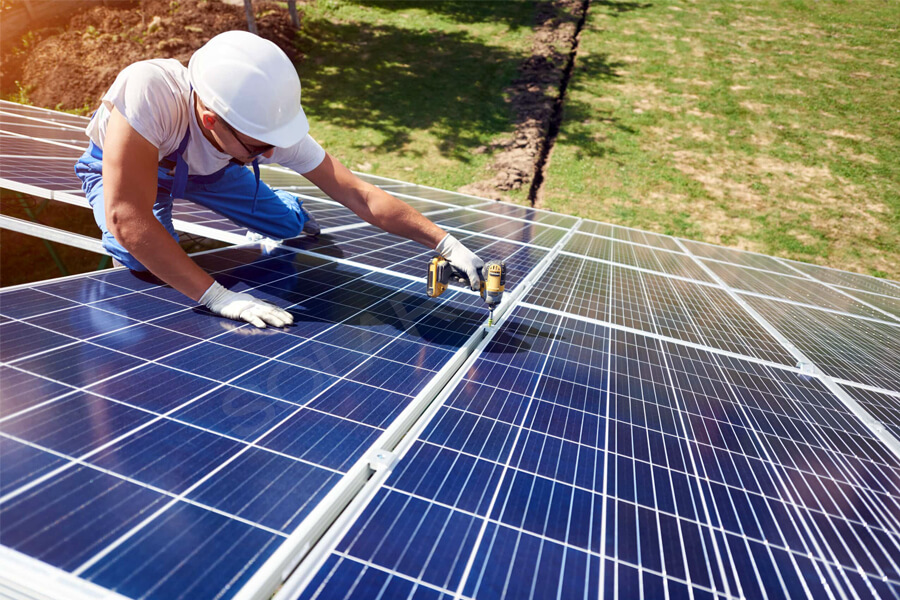
Household roof solar power station, as a small solar power generation device installed on the family roof, has flexible and convenient installation mode and scale. The standardized operation process ensures that you can enjoy the power generation income of “roof bank” at ease, worry-free and continuously.
1. Concrete foundation installation
According to the construction method, it can be divided into precast cement foundation and direct pouring foundation. According to its size, it can be divided into the independent base foundation and composite base foundation.
Scope of application: concrete flat roof.
Advantages: strong bearing capacity, good flood and wind resistance effect, reliable stress, no damage to the cement roof, good strength, high precision, simple and convenient construction and no need for large construction equipment.
Disadvantages: increasing the load of the roof requires a large amount of reinforced concrete, more labor, long construction period and high overall cost.
(1) Independent base foundation
The independent base is the front and rear supports, which are placed separately on the concrete plane roof. The independent base is divided into square columns and circular columns according to the column shape.
a. Square column
From the connection mode, the square column base is divided into: the support is connected with the cement foundation base by screws, the support is poured together with the cement foundation, the support is directly pressed under the concrete foundation groove, and the concrete is directly placed on the support.
① Screw connection between support and cement foundation base
② The support shall be poured together with the cement foundation
③ The support is directly pressed under the concrete foundation groove
b. Circular column
The connection mode of circular column base is divided into: screw connection between support and concrete foundation base and pouring of support together with a cement foundation.
① The support is fixedly connected with the cement foundation base by screws
② The support shall be poured together with the cement foundation
(2) Composite base foundation
Composite base foundation, also known as strip foundation, connects the front and rear supports as a whole and has better load resistance. The connection mode with the support can be divided into: screw connection between the support and the concrete foundation base and pouring of the support together with the cement foundation.
① Screw connection between support and concrete foundation base
② The support shall be poured together with the cement foundation
2. Fixture installation
Materials can be divided into: aluminum profile, hot-dip galvanized steel, aluminum alloy, stainless steel, etc.
Scope of application: mainly used for color steel tile roof and glazed tile inclined roof.
Features: light weight, low cost, high reliability and convenient installation.
As there are many types of structures and fixtures of color steel, only some types of fixtures are listed below.
(1) Installation fixture of color steel tile (clamping)
Applicable color steel tile type: angle Chi type III, vertical locking structure.
(2) Saddle support
Applicable color steel tile types: angle Chi three type, vertical locking structure and trapezoidal structure.
The connection mode with color steel tile is divided into bonding and bolt fixation.
① Bonding
② Bolt fixing
(3) Glazed tile hook fixed foundation
① The hook is fixed on the beam with bolts
② The hook is fixed on the concrete floor with expansion bolts
3. Support and roof bonding installation
① The support is directly connected to the floor
② The support base is bonded to the roof with construction adhesive
③ The metal support is embedded and bonded to the roof
This installation method is mainly applied to concrete inclined roof and concrete arch roof.
4. Installation and fixing of solar panels
(1)Inclined roof
At the beginning of operation, two people must lift the component board on the support (it is forbidden to use the component board by one person) and place it according to the drawing plan.
When fixing the edge pressing, it must be close to the component frame and tightened with an Allen wrench (no looseness is allowed).
The medium pressure block shall be placed in the guide rail slot and on the upper edge of the component frame. Screw it down a few times first. After another component board is placed, tighten the medium pressure block (be sure to stick to the component frame).
All medium pressure blocks and side pressure blocks must be checked one by one after they go up, and any looseness is strictly prohibited.
After all are installed, check whether they are neat and beautiful as a whole.
(2)Flat roof
Place the guide rail on the guide rail fixings and tighten the bolts.
First insert the connecting strip into the two connected guide rails, align and tighten the bolts.
Note: the position of the guide rail connecting strip shall not coincide with the tripod and shall be staggered!
Install all guide rails to ensure that the guide rails of the square array are linear.
Place the photovoltaic module on the guide rail, and fix the pressure measurement and medium voltage.
Lay all solar panels in turn.
5. Installation of wiring duct and electrical equipment
Matters needing attention:
First, pay attention to safety when wiring and arranging pipes. When dark lines can be used, try to use dark lines instead of open lines. At the same time, pay attention to the aesthetics of pipes;
When installing the inverter, ensure that the input and output switches are disconnected;
It is absolutely forbidden to connect the DC input with the output terminal of the inverter, and it is forbidden to short circuit or ground the output circuit;
The connection between DC input and inverter shall be as short as possible;
Cables of different colors shall be selected for difference during connection. Positive red, negative blue;
The wiring terminal must be firm and not loose.
Tools used:
Hammer, large slotted screwdriver, large cross screwdriver, vice, saw, impact drill.
The wiring and pipe arrangement must be handled according to the practical and beautiful angle. One pipe clamp of 1.5m shall be placed. It is strictly prohibited to loose and bend the pipe. In order to meet the requirements, the wiring shall be as few as possible, and the dark wire shall be used as far as possible.
The inverter shall be installed at a high place with smooth surrounding air circulation and far away from life. Before installation, make preparations to check whether the product accessories are complete, whether the installation environment meets the requirements, and whether the layout before installation is appropriate.
During installation, two people shall cooperate, and the installation must be firm. It is strictly prohibited to loose, swing left and right, etc. After installation, be sure to check the PV array, AC side wiring, DC line side wiring and the fixation of the whole inverter.
The distribution box shall be installed on the wall greater than or equal to 1.3m. Pay attention to power safety during installation. If the cable needs to pass through the wall and pipe, it must be sealed with waterproof and fireproof materials to ensure its safety.
6. Grid connection commissioning
Matters needing attention:
Before commissioning and grid connected operation, carefully check whether all lines are connected;
Power on test, adjust and operate the inverter, and note whether the value is consistent with the actual situation;
Pay attention to electricity safety.
Tools used:
Large cross screwdriver, large slotted screwdriver, small cross screwdriver, small slotted screwdriver, laptop, multimeter.
For trial grid connection operation, first close the DC part switch (inverter switch), observe whether the DC part voltage operation meets the standard, and take records with a camera.
If the DC voltage is within the specified range, turn on the power distribution cabinet, close the AC switch, observe the photovoltaic meter, and take pictures of its operation with a camera.
If the manufacturer does not install the WiFi module, it must be removed to install the WiFi module. If it has been installed, you can skip it directly and set the WiFi. The specific operation steps are in accordance with the WiFi manual.


